
A couple of words about Blender. Simply put, Blender is a 3D creation suite. However, it’s also free and open-source, which provides more transparency and reliability to its professional users.
Today, many UX/UI designers require animation and 3D creation tools to deliver stunning designs for various software. Just like for any other software development agency, web design and visual content are what can be easily demonstrated and makes us stand out on the market. So we’re constantly working to keep it that way. That’s why our designers also study 3D animation and video editing.
A couple of years ago, I made research and found out Blender is mature enough for professional use. Since then I've been studying and using it in my work and now pass my knowledge to the colleagues in the design department.
The tutorial below is the first in the series, and below I present a short crib to keep at hand after watching.
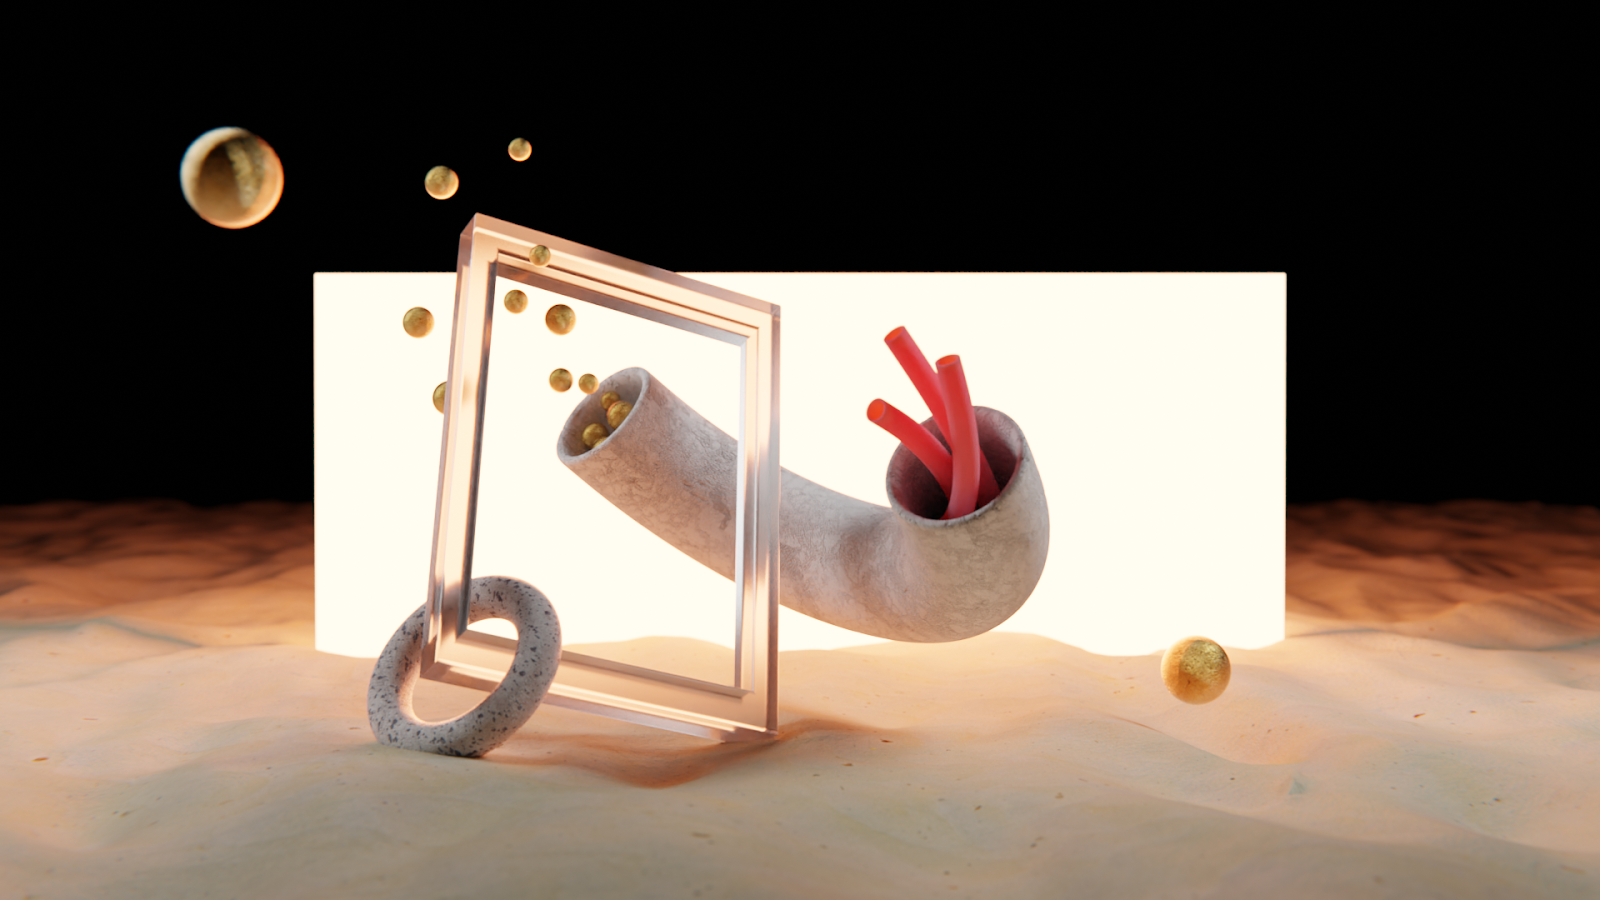
With this video and blog post you’ll be able to create the next image:
Working With Views in Blender
Press and hold the Tilde (~) symbol on your keyboard and a menu will pop up, where you can choose a view: just point at it and release the button.
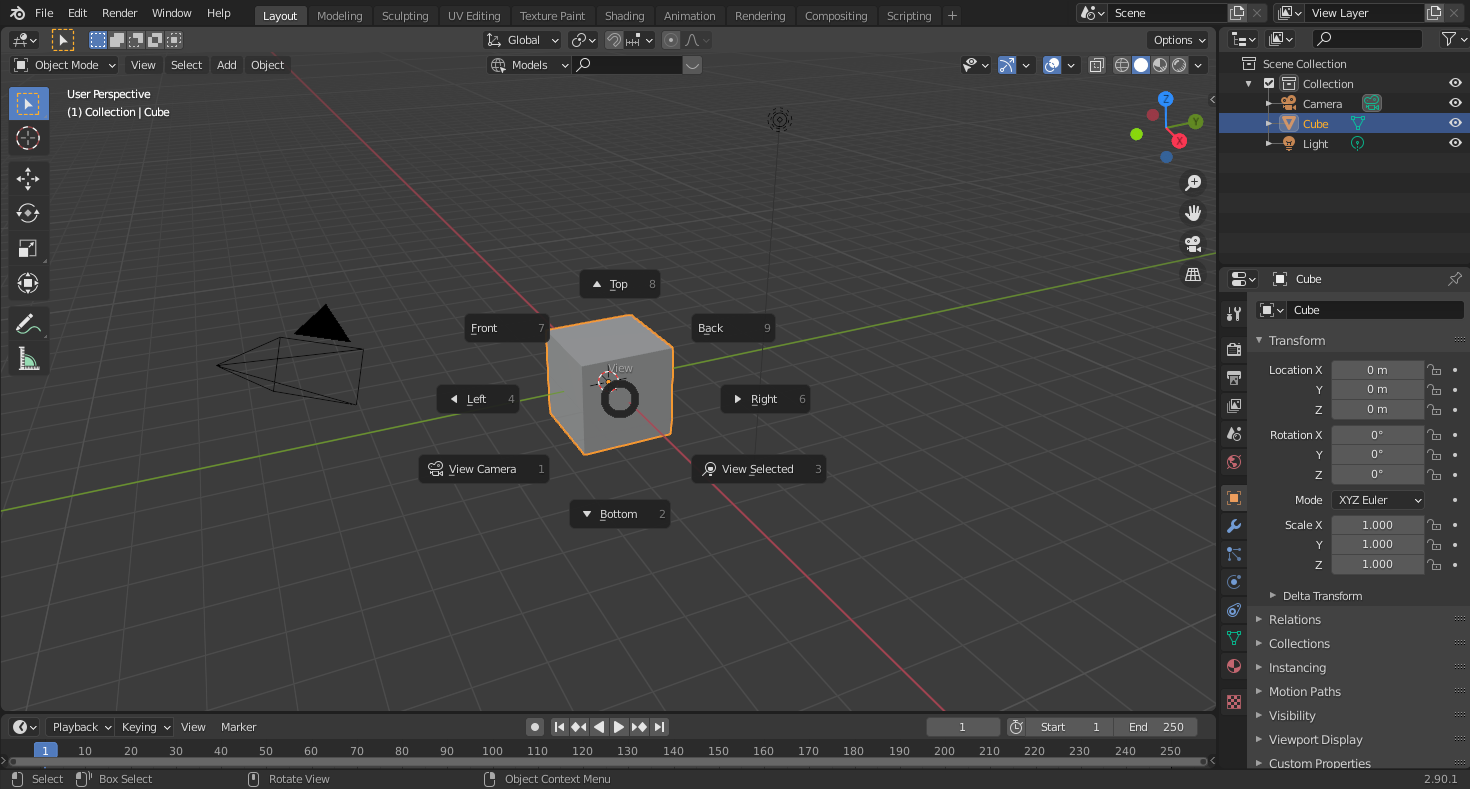
You can also quickly switch the views by switching numbers 1, 2, 3 on the nav pad. They are already programmed for changing the view, but usually, it’s more convenient to use the mouse to change views.
By the way, there is also a 5th button on the navpad. It is a switch button to perspective or orthography. You can also switch to an orthographic view. That is, it has no perspective deformations. You might need it to fully understand the shape of an object without distortion.
Upon clicking it again, it returns to the previous view.
Orthography lets you work in the isometric view, but don’t forget that the camera is at the top left, and you’ll be rendering what the camera is showing.
Camera view control
To control the camera, you use the middle mouse button (the wheel). Press it and move the mouse to rotate the camera. If you’re going to hold the SHIFT button in addition, the camera will be moved around instead of rotating. If you’re going to hold the Ctrl button instead, the scene will be zoomed in or out on mouse movement.
Alternatively, you can press SHIFT + ~. Then, configure the camera view as you wish by rotating the mouse and using keys W, A, S, D, Q, E:
- W – forward
- A - backward
- S - left
- D - right
- Q - up
- E - down
As for our practice, we usually set the camera location and angle to zero, then we move it along the Y-axis – that’s the most convenient way of working with simple scenes. If you’re doing, say, animation, details for the depth of field might force you to use the camera in other ways.
Working with objects
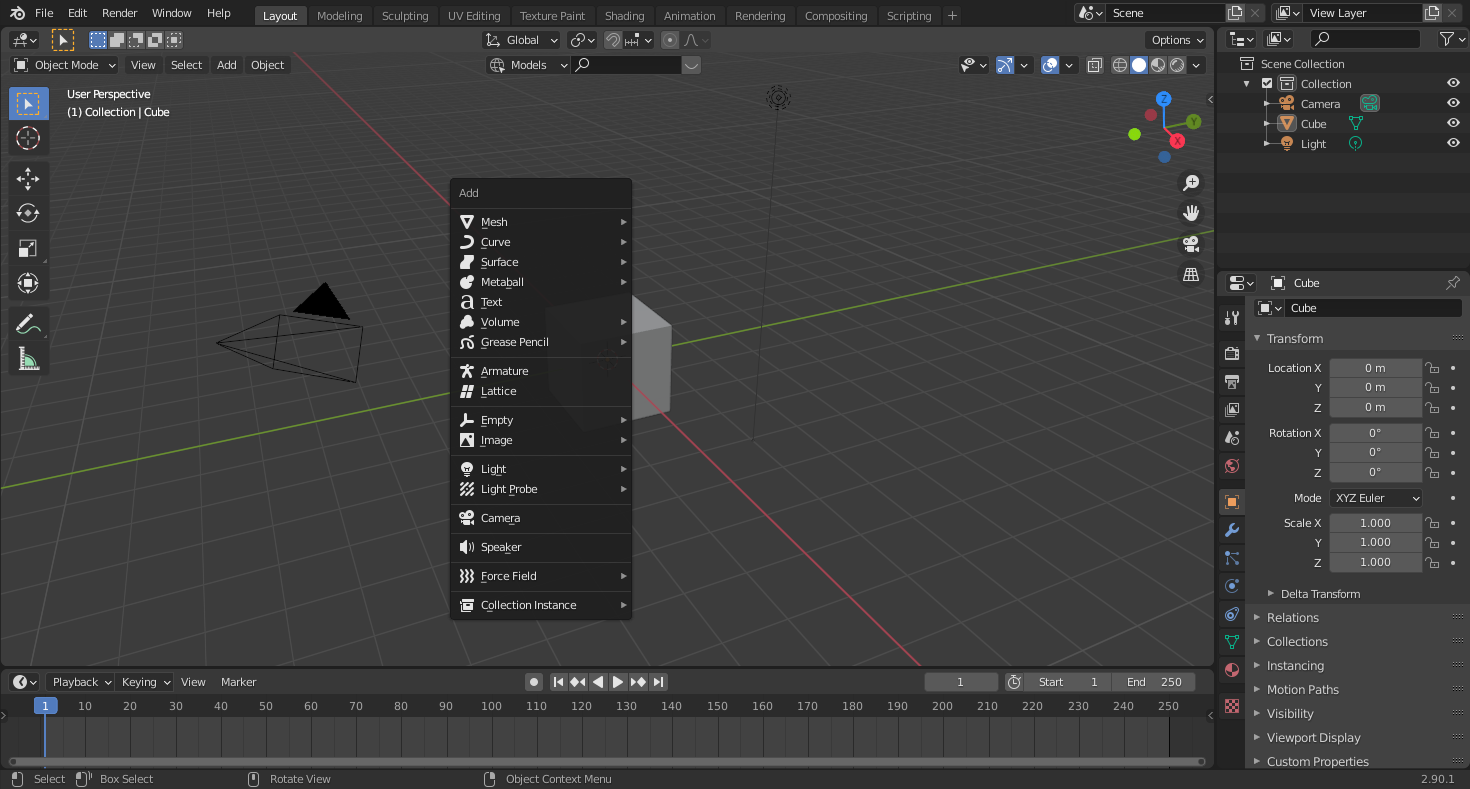
Adding objects can be done through Shift+A or through the Add button at the top.
Use “G” to move objects, “R” to rotate them, and “S” to scale them. If you press “G” or “R” or “S” + the axis button (X, Y, Z), the movement, rotation or scaling will be linked to the selected axis. Linking to an axis is useful when you need to move or rotate objects with precision.
Modeling 101
Blender has a few modes. For the basic modeling purposes, let’s review two of them.
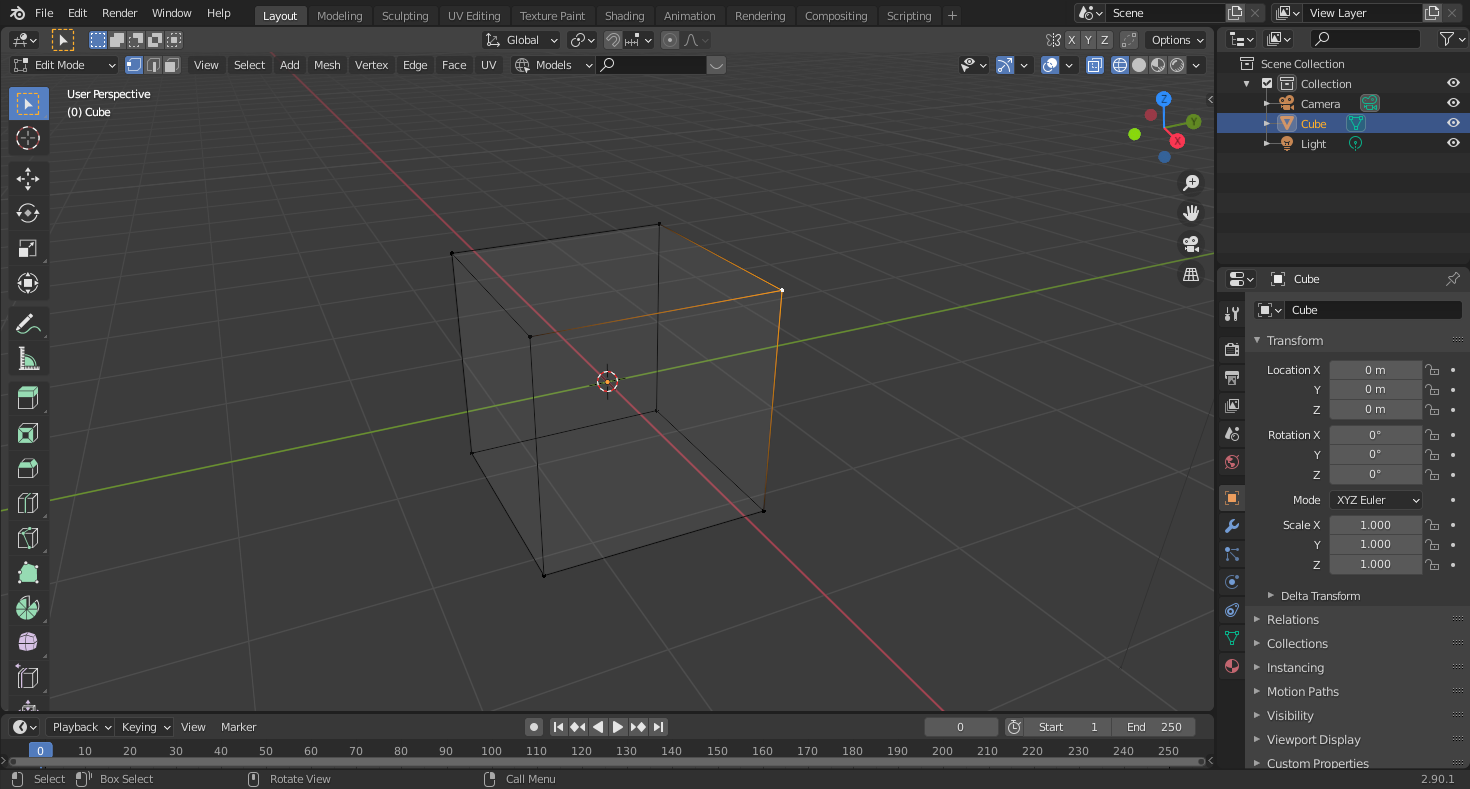
In the object mode, you can select an object or a few, and in edit mode you, well, you edit it.
Use the “TAB” key to switch to the editing mode.
Vertices and edges together make a surface. In the editing mode, you can press “1”, “2”, or “3” to switch to vertices, edges, and surfaces correspondingly.
Sometimes it is easier to edit an object when it’s transparent – for that, press Shift+Z.
Here you can also move, rotate and scale any vertex, edge, or surface using the “G”, “R”, and “S” buttons and the axis button. Or use the corresponding buttons on the panel on the left.
Note: check out extrusion: press “3” to switch to the surface mode and press “E” to squeeze the object out.
If you need more geometry, select the object and press Ctrl+R in the edit mode. This command will make a cut and add geometry.
To delete the object, press Tab, exit the edit mode and move to the object mode. Then, simply press Delete. If you’re in the edit mode, you can also press A to select everything and then press Delete.
The combination of Ctrl+R and scrolling allows adding more segments to the object.

When you’re adding an object – say, a torus, – an object setup panel will appear. It is important to set parameters in it right away. Otherwise, if you do some other modifications, the panel will disappear and any changes won’t be saved.
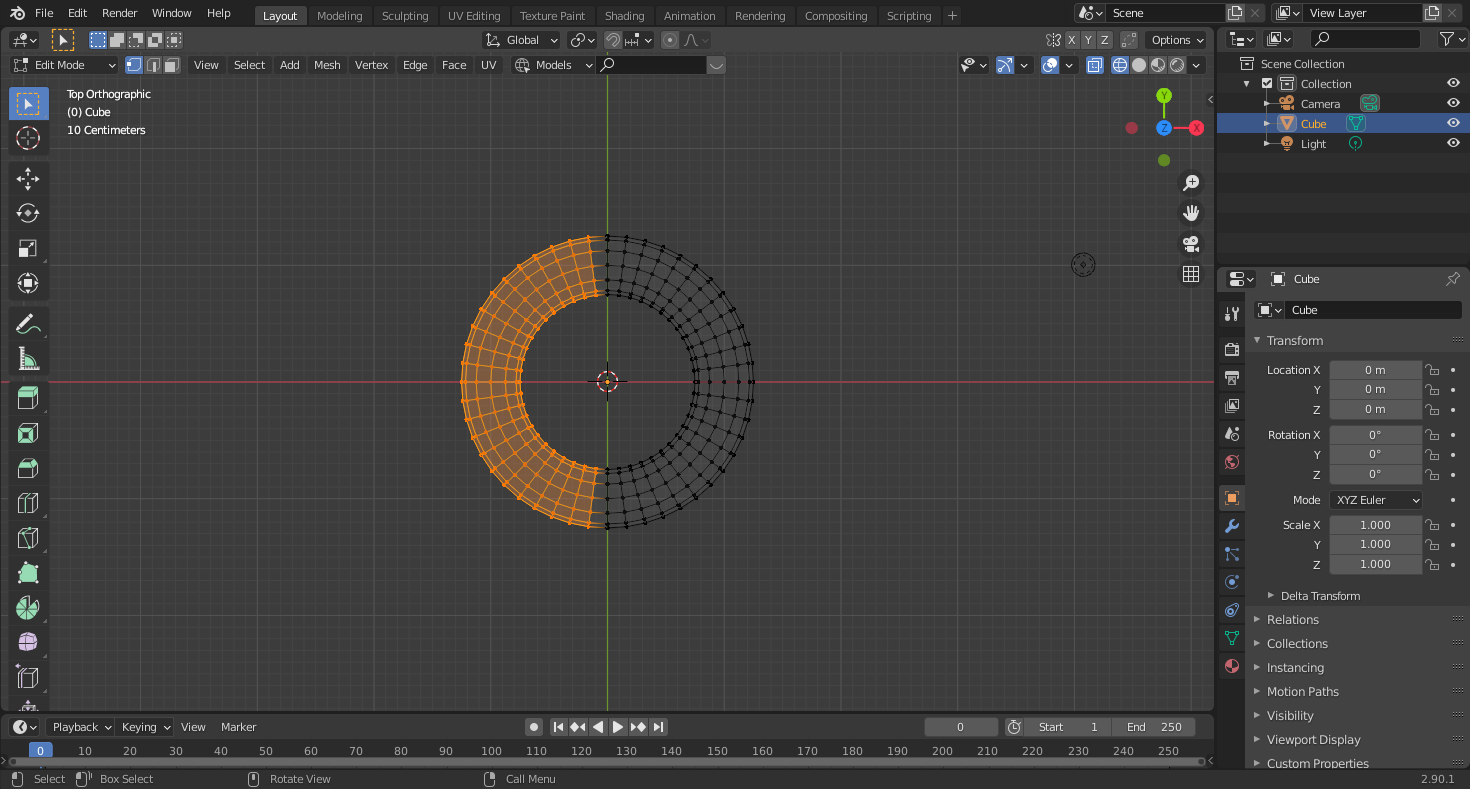
Example: how to make a donut-shaped object
Place a torus. Switch to the top view. Select half of all the vertices as shown in the picture below. For that, make the object transparent with Shift+Z, otherwise, only the top vertices will be selected. Delete them. Use Shift+Z to cancel the transparent mode and you’ll see that you have a half-torus now.
If you find it too low-poly, you can go into the editing mode, select everything (A), and then enable subdivision with the right mouse button.
However, simply doing it won’t be enough to make an object smooth. When you have your object selected, find and press the wrench icon on the menubar. You’ll see object modifiers, among which you’ll want to select the subdivision surface to edit its parameters.
The Render parameter is visible only during rendering.
The Levels Viewport parameter is responsible for what is seen now.
When you adjust smoothing, don’t go too far with your experiments. In our case, initially, we had only 420 rectangles. However, with smoothing equal to 3 there were already 26,000 rectangles. Increasing smoothing even more will probably make your computer lag or even unresponsive at all.
So when you do smoothing, complicating the mesh, or changing geometry, don’t overdo it.
Notice: when you’re working with modifiers, you can adjust them as long as you don’t have the Apply button pressed. After that, you can only undo your action and change the necessary modifiers again.
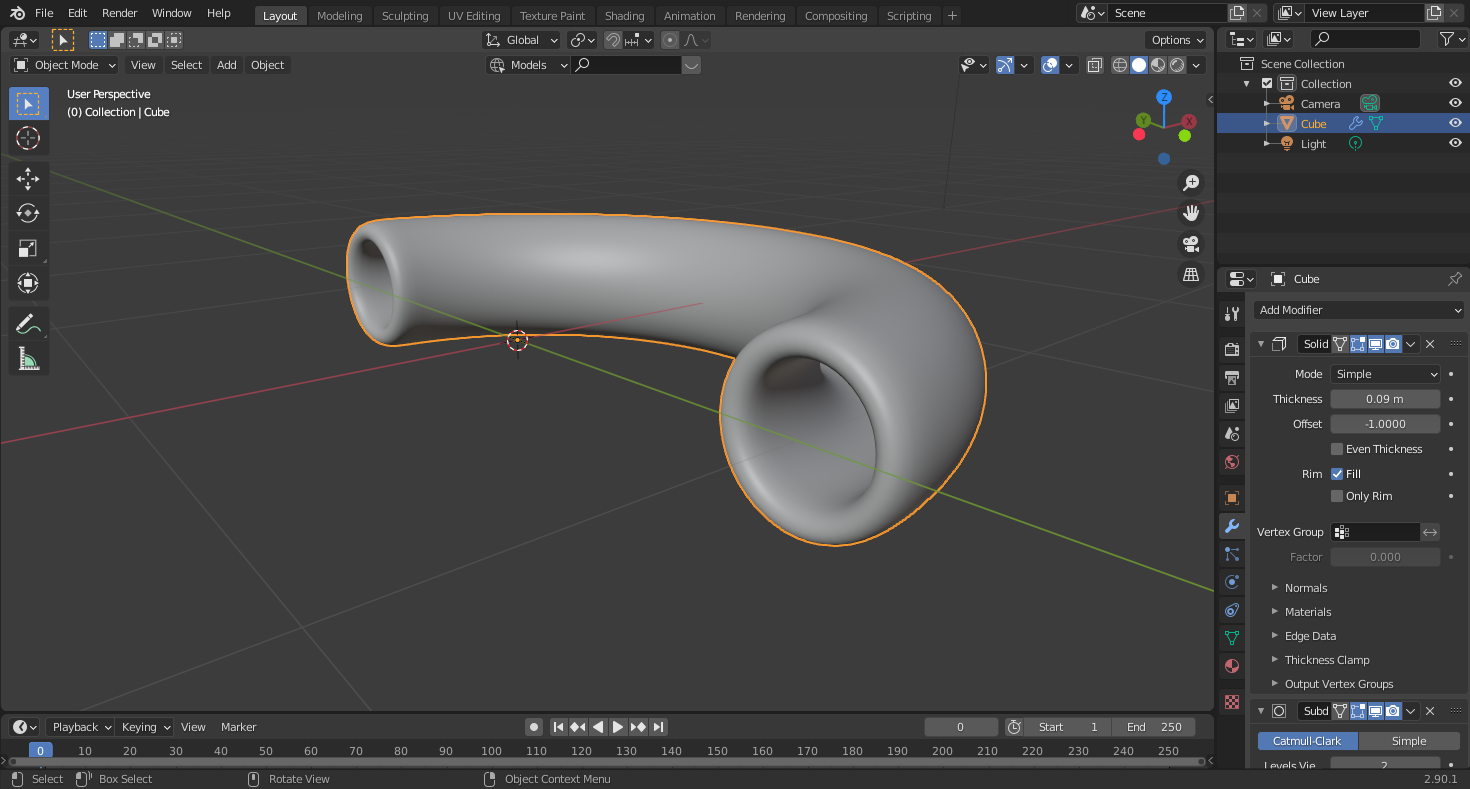
When you click on a wrench and add a modifier, you can also find the Solidify modifier as well. It works properly only in the object mode. With Solidify, the main parameter is thickness. You can add random thickness. For instance, applying to a cylinder will turn it into a pipe.
These are the basics of making really simple objects.
Introduction to materials
Let’s first create a sphere via Shift+A > Mesh.
Then, enable shade smooth via using the right mouse button click to display it normally.
When you’re in the viewport, you can hold the Z button to see the solid display, or press Shift+Z to switch to the wireframe.
Press Shift+A and add light. You can select from multiple types of light sources, and then manipulate them just like ordinary objects to put them wherever you need.
When you render them, your computer may slow down.
Notice: if you notice squares around your object when you rotate it, that’s fine. To hide them, select the Solid mode.
Click World, a red button with a red planet on it on the right of the interface. The Color option defines the color of your world, which will also affect your objects. Note that the color will be seen only in the Rendered mode, so you might want to split the screen in order to see the Render and a perspective of the object simultaneously.
Click the sphere, and in the bottom right corner, you’ll find a menu with a ball icon. It refers to material properties. Click New. Then in the parameters list, choose a contrasting color so that the object could be visible. There are many other parameters that you can learn on your own; we won’t pay our attention to it now.
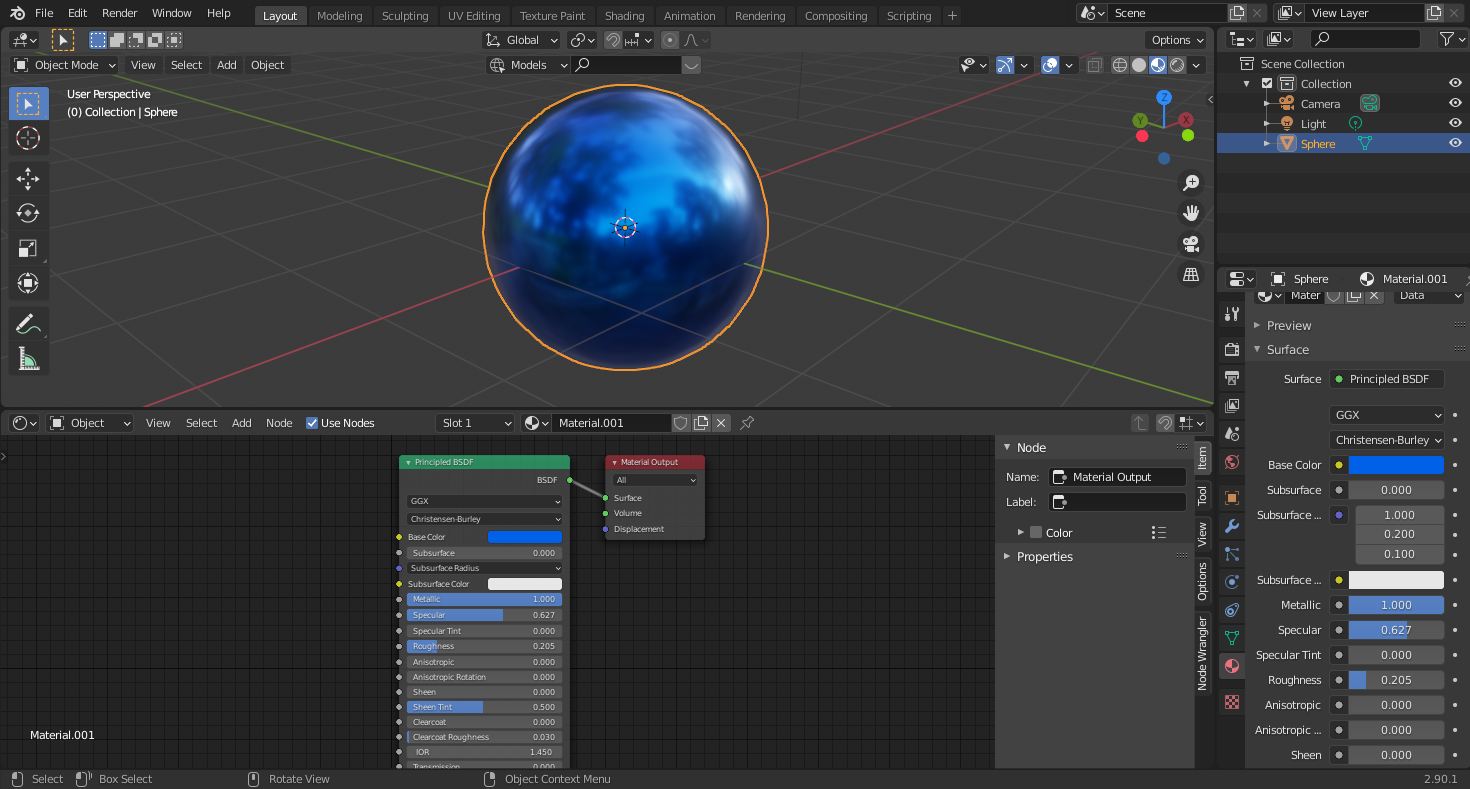
Now you can use the Shader editor to add anything you want, from generated textures to gradients. We’ll talk more about it in our next posts.
A material can consist of several files, for instance, wood and marble, and every layer can be edited alone.
What’s next
In this post, I showed how objects are created and managed, how to work with the mesh and modifiers, and how materials are applied.
Of course, this is not enough to make the best web design company – there is so much more to tell about scene design, light setup, textures, materials, renders, composition, and animation. But for learning that, one should master object creation first, which is best done through video tutorials like the one above, and this text is more of a crib to keep at hand.
Stay tuned for more tutorials and cribs like this while we’re learning and sharing new insights on design, animation, and videography.
The Store
Check for more